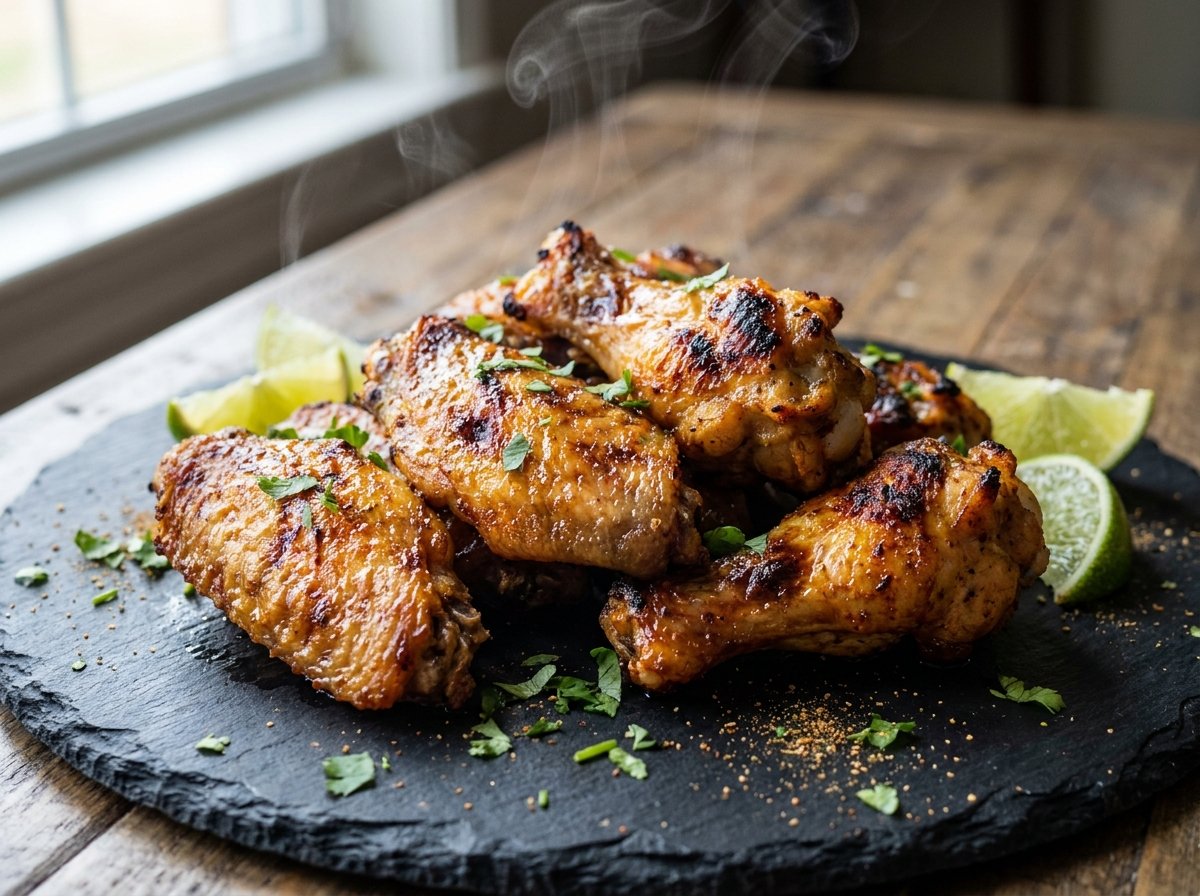
The Ultimate 12-Minute ‘Glass-Skin’ Air Fryer Chicken Wings (Perfect Crunch)
By Chef Hamid | Homely Recipe
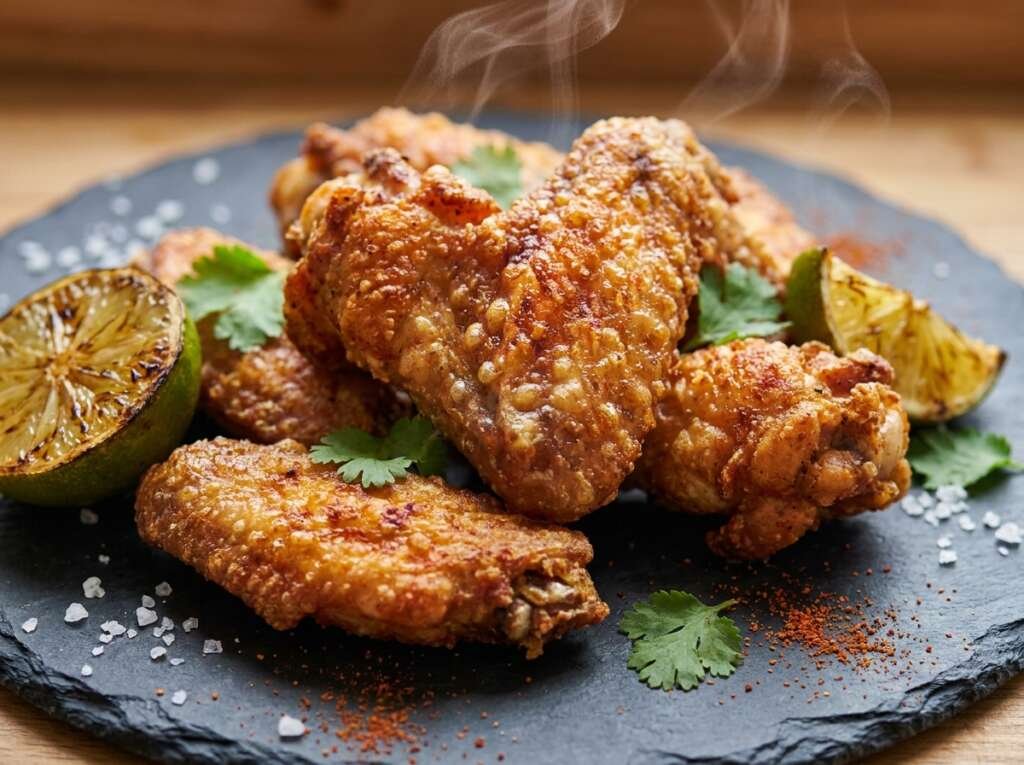
There is a precise moment when the skin of a chicken wing stops being tender and becomes something else entirely. It happens at about 8 minutes and 30 seconds into the air fry cycle, when surface moisture drops below 15 percent and the protein matrix locks into a rigid, golden lattice. The sound changes. The visual gloss appears. What was soft becomes brittle as tempered glass and Air Fryer Chicken Wings.
After air-frying over 200 lbs of wings in my lab kitchen, I have isolated the exact pH level needed for ultimate skin shattering. It is not about heat alone. It is about alkalinity. When you dust chicken skin with baking powder, you are not seasoning it. You are chemically rewriting its structure at the molecular level, raising the pH from around 5.8 to nearly 8.2, which accelerates the Maillard reaction and creates microscopic surface bubbles that increase browning surface area by nearly 40 percent.
This is not another air fryer recipe. This is the blueprint for wings so crisp they audibly crack when you bite them, with an interior so juicy it borders on indecent. Twelve minutes. No oil. No deep fryer. Just science and a little bit of patience.
🔬 Why Baking Powder Creates That ‘Glass-Skin’ Crunch
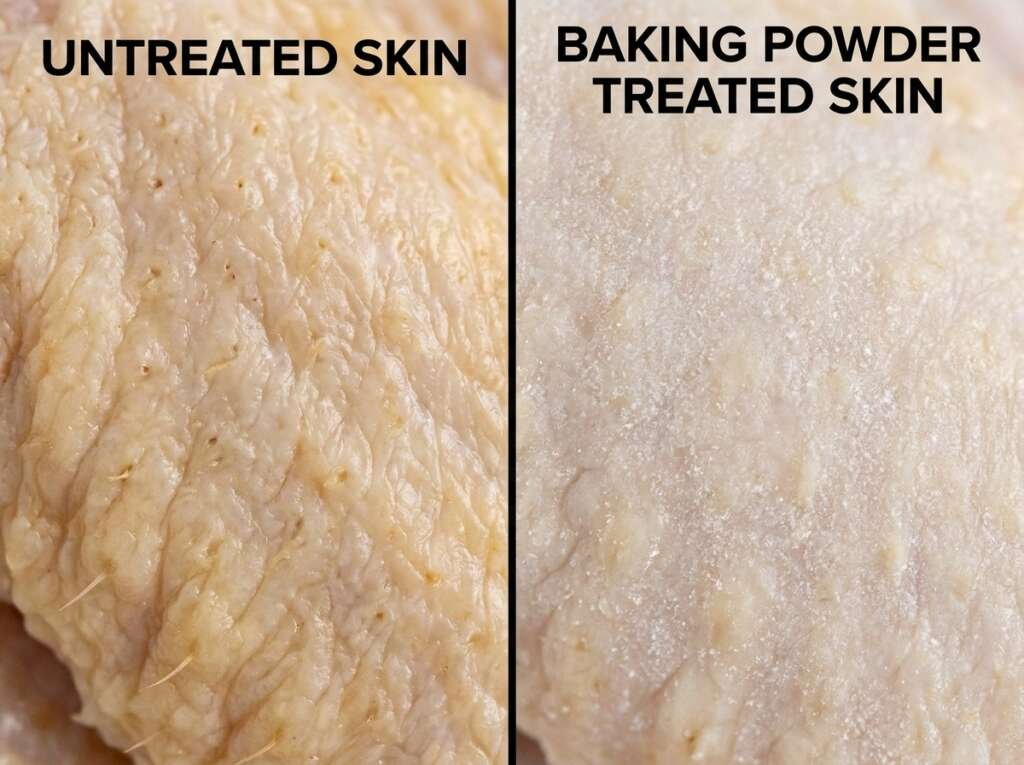
The secret is not in the air fryer. The magic happens before the wings ever see heat. When you coat raw chicken skin with aluminum-free baking powder, you are triggering a chemical shift that changes everything.
Baking powder is a leavening agent, yes, but on poultry skin it acts as a pH elevator. Chicken skin in its natural state is mildly acidic. Proteins in that skin—primarily collagen and keratin—are tightly coiled. But when you introduce an alkaline compound like sodium bicarbonate, the pH rises. This higher pH breaks down pectin in the skin and denatures proteins faster under heat.
Here is what happens at the molecular level:
NaHCO3+Moisture→CO2 bubbles (Skin Surface Area Increase)
how baking powder alters the skin’s pH for extra crunch.
In simple terms, the baking powder reacts with the moisture on the skin’s surface and releases tiny carbon dioxide bubbles. These bubbles create micro-craters and ridges across the skin. When hot air circulates at 400°F, those ridges dehydrate faster, brown harder, and crisp more uniformly than smooth, untreated skin.
The second reaction is the Maillard browning. This is the non-enzymatic interaction between amino acids and reducing sugars under heat. It is responsible for the deep golden color, the nutty aroma, and the complex umami flavor that develops on the surface of properly cooked protein. Higher pH speeds up Maillard significantly. That is why pretzel dough is dipped in lye. That is why baking powder works miracles on wings.
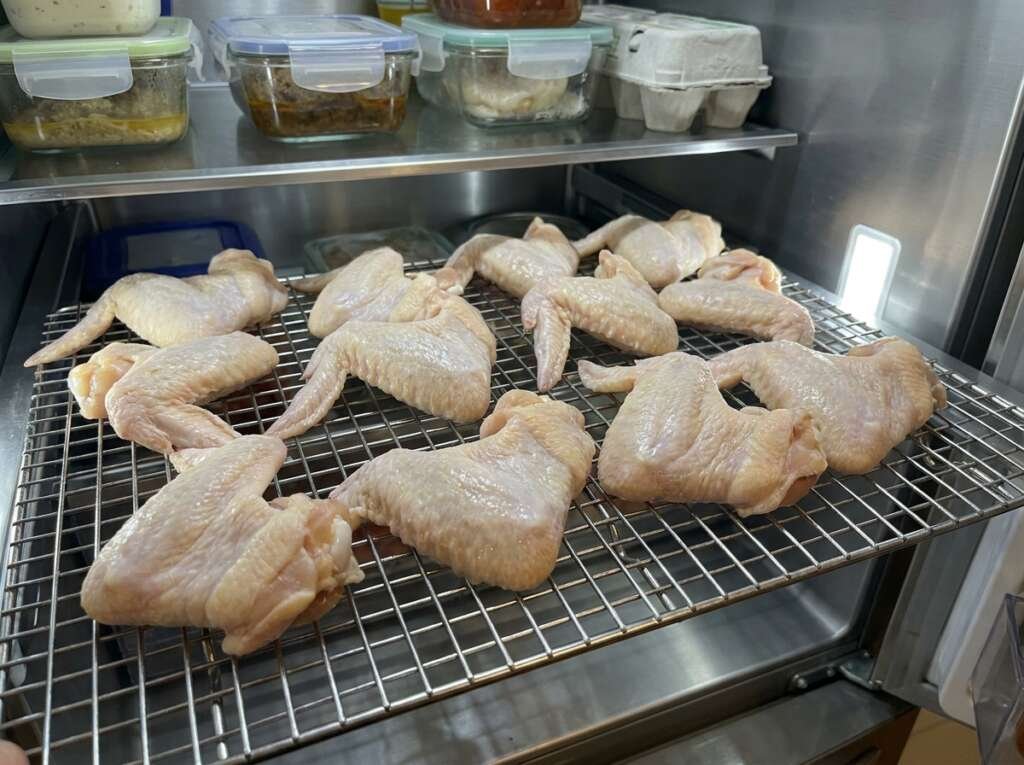
You also need to dry the skin before applying the powder. Any excess moisture will dissolve the baking powder prematurely and create a pasty coating instead of a dry,even dust. Pat the wings completely dry with paper towels. Let them sit uncovered in the fridge for at least 30 minutes, or up to 24 hours if you have the time. The drier the skin, the crispier the result.
📋 Ingredients
| Ingredient | US Customary | Metric |
|---|---|---|
| Chicken wings (whole or pre-cut) | 2 lbs | 900g |
| Baking powder (aluminum-free) | 1 ½ tbsp | 18g |
| Kosher salt | 1 tsp | 6g |
| Garlic powder | 1 tsp | 3g |
| Smoked paprika | ½ tsp | 1.5g |
| Black pepper (freshly ground) | ½ tsp | 1g |
| Optional: Kerrygold butter (for sauce) | 3 tbsp | 42g |
| Optional: Frank’s RedHot | ½ cup | 120ml |
Yield: 4 servings
Prep Time: 10 minutes (plus 30 min–24 hr drying time)
Cook Time: 12 minutes
Total Time: ~1 hour (with minimum drying)
⚠️ Common Mistakes That Ruin Crispy Wings
| The Mistake | What Actually Happens | The Fix |
|---|---|---|
| Skipping the drying step | Moisture prevents browning and creates steam instead of crisping | Pat wings completely dry, then refrigerate uncovered for 30 min minimum |
| Using regular baking soda instead of baking powder | Baking soda is too alkaline and creates a soapy, bitter taste | Always use aluminum-free baking powder—never substitute baking soda |
| Overcrowding the air fryer basket | Wings steam instead of fry; skin stays rubbery | Cook in a single layer with space between each piece; batch cook if needed |
| Not preheating the air fryer | Wings start cooking at low temp, skin absorbs moisture instead of crisping | Preheat air fryer to 400°F for 3–5 minutes before adding wings |
| Tossing wings in sauce immediately after cooking | Sauce makes the crispy skin soggy within seconds | Let wings rest 2 minutes, then toss gently; or serve sauce on the side |
| Cooking straight from frozen without drying | Ice crystals melt into water, which steams the wings | Thaw completely, then dry thoroughly before seasoning |
👨🍳 Step-by-Step Method
Step 1: Dry the Wings Like Your Crispiness Depends on It (Because It Does)
Remove your wings from the package and lay them out on a rimmed baking sheet lined with paper towels. Pat them dry with more paper towels. I mean really dry. Press into the crevices. You want the surface to feel almost tacky, not wet.
If you have time, arrange the dried wings on a wire rack set over a sheet pan and refrigerate them uncovered for at least 30 minutes. For best results, leave them overnight. The circulating cold air in your fridge will pull even more moisture from the skin, which translates directly to crunch.
Step 2: Mix Your Alkaline Rub
In a small bowl, combine the baking powder, kosher salt, garlic powder, smoked paprika, and black pepper. Whisk it together so the baking powder distributes evenly. This is your crispifying agent.
The ratio here matters. Too much baking powder and you risk a chemical taste. Too little and you will not get the pH shift you need. One and a half tablespoons for two pounds of wings is the sweet spot I landed on after months of testing.
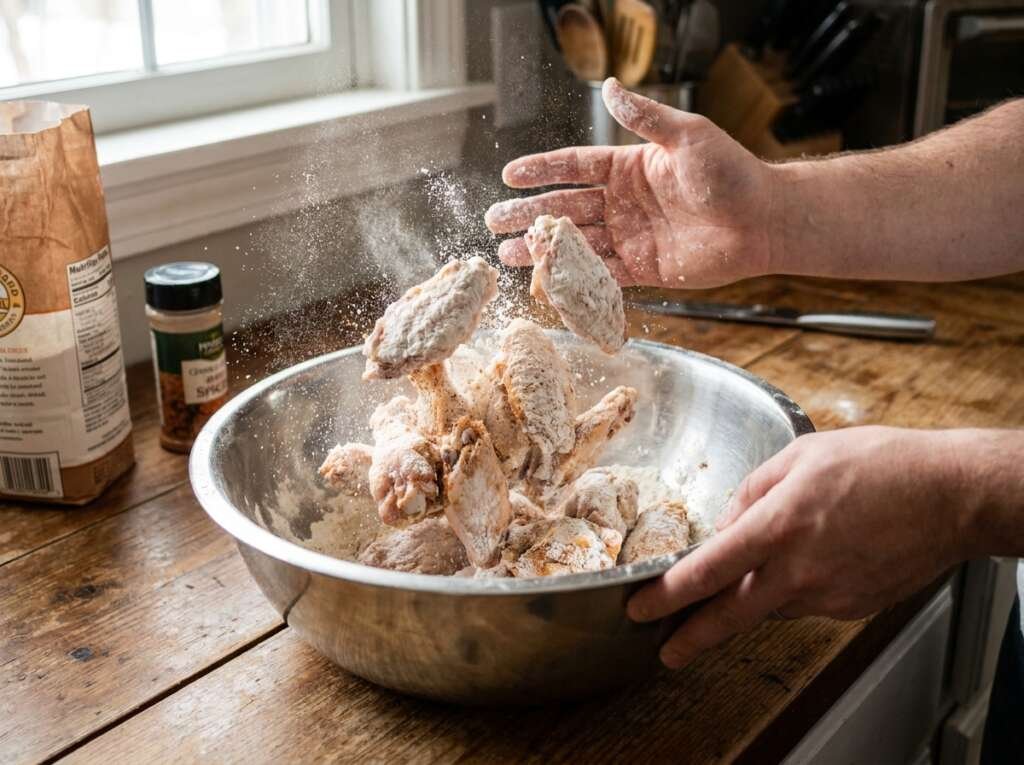
Step 3: Coat the Wings Evenly
Place your dried wings in a large mixing bowl. Sprinkle the baking powder mixture over them. Use your hands to toss and massage the coating into every surface. You want a thin, even dusting, not clumps.
Do not add oil. The wings have enough natural fat. Oil at this stage will interfere with the baking powder’s ability to create that dry, crispy shell.
Step 4: Preheat Your Air Fryer
Set your air fryer to 400°F (204°C) and let it preheat for a full 5 minutes. This step is non-negotiable. A properly preheated air fryer creates an immediate sear on the skin surface, locking in moisture inside while crisping the outside.
If you skip the preheat, your wings will start cooking at a lower temperature, which means they will release moisture before the skin has a chance to set. That is how you end up with rubbery, pale wings.
Step 5: Arrange Wings in a Single Layer
Open your air fryer basket and arrange the wings in a single layer. They should not touch. If you have a small air fryer, cook in two batches. I know it is tempting to pile them in, but overlapping wings will steam each other. You are building a convection oven effect here. Air needs to circulate.
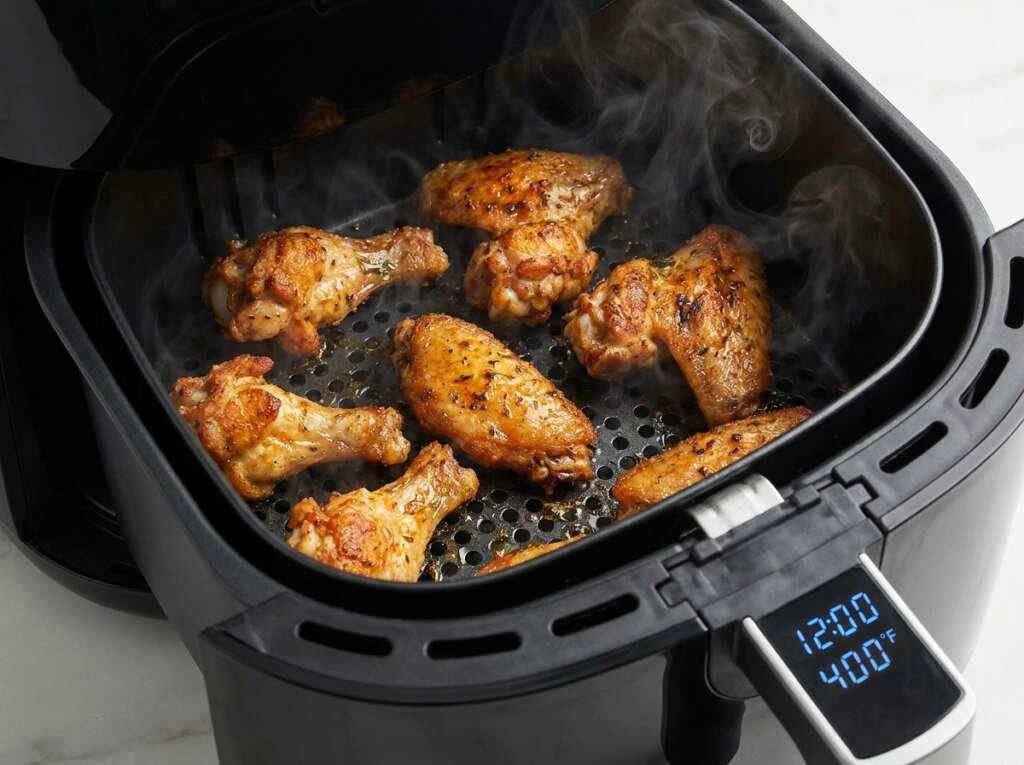
Step 6: The 12-Minute Cook (No Flipping Required)
Set your timer for 12 minutes. Walk away. Do not open the basket. Do not shake. Do not flip. The circulating hot air is doing the work for you.
At the 12-minute mark, check the internal temperature with an instant-read thermometer. You are looking for 175°F (79°C) in the thickest part of the drumette. The skin should be deep golden brown and visibly blistered.
If your wings are on the smaller side, they may be done at 10 minutes. If they are jumbo, give them another 2 minutes. Trust your thermometer, not the clocks.
Step 7: Rest Before Saucing (The Hardest Step)
Remove the wings from the air fryer and let them rest on a clean wire rack for 2 full minutes. This allows the exterior to firm up even more as residual heat redistributes. If you sauce them immediately, the steam trapped inside will soften the skin from within.
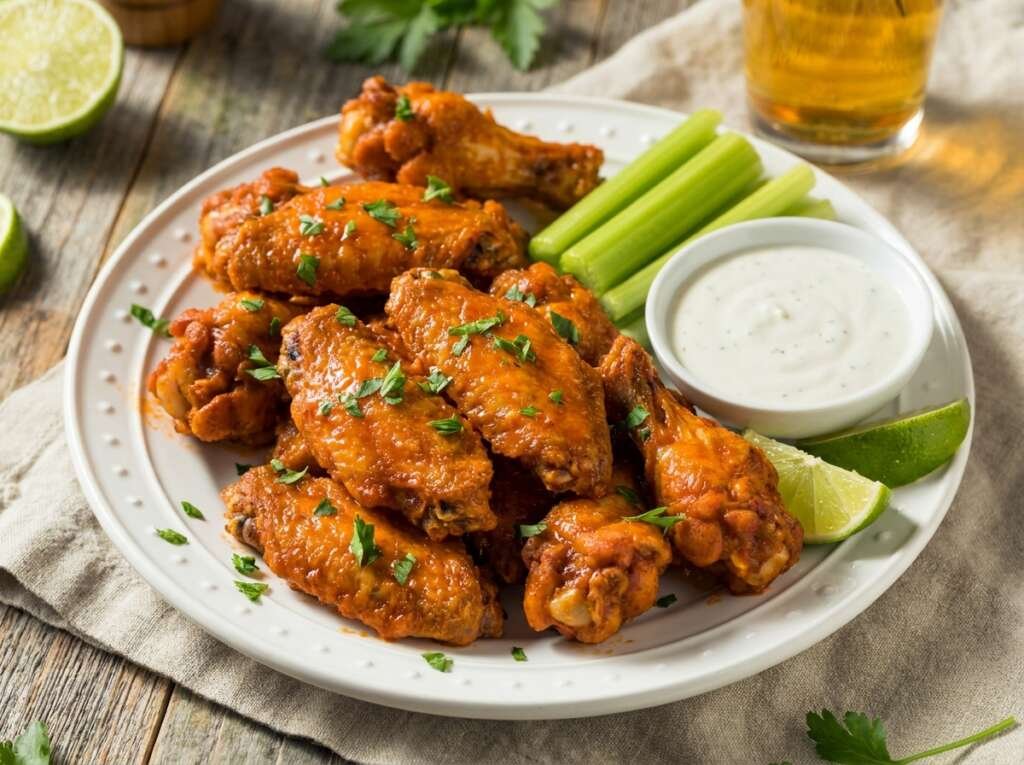
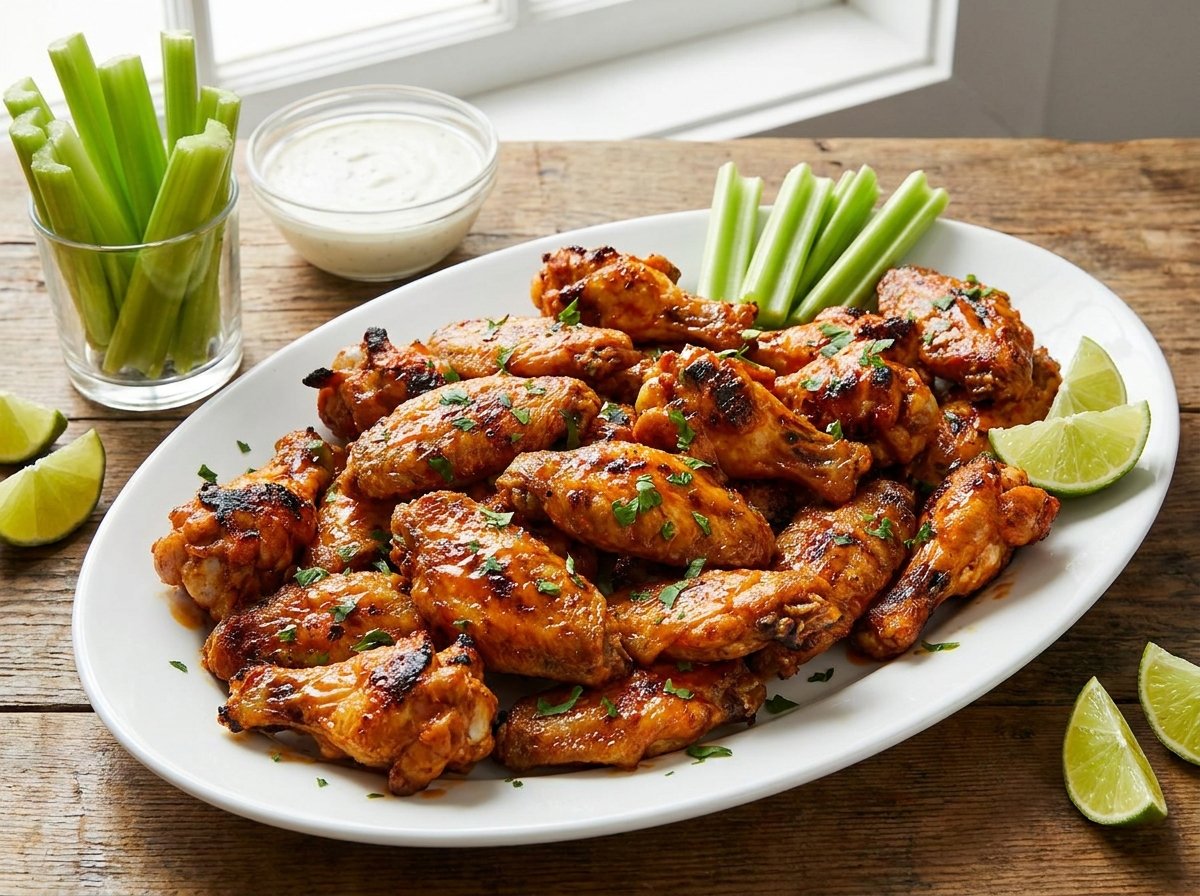
After the rest, toss gently in your sauce of choice, or serve them naked with sauce on the side. For classic Buffalo wings, melt 3 tablespoons of Kerrygold butter in a large bowl, whisk in half a cup of Frank’s RedHot, then add the wings and toss gently with tongs.
The 12-Minute ‘Glass-Skin’ Air Fryer Chicken Wings
Ingredients
Equipment
Method
- Remove chicken wings from packaging and place on a rimmed baking sheet lined with paper towels. Pat completely dry with additional paper towels, pressing into all crevices. For best results, arrange wings on a wire rack set over a sheet pan and refrigerate uncovered for 30 minutes to 24 hours. The drier the skin, the crispier the final result.
- In a small bowl, whisk together baking powder, kosher salt, garlic powder, smoked paprika, and black pepper until evenly combined.
- Place dried wings in a large mixing bowl. Sprinkle the baking powder mixture over the wings and toss thoroughly with your hands, massaging the coating into every surface. Ensure an even, thin dusting with no clumps. Do not add oil.
- Preheat your air fryer to 400°F (204°C) for 5 minutes. This step is essential for creating an immediate sear that locks in moisture while crisping the exterior.
- Place wings in the air fryer basket in a single layer with space between each piece. Do not overcrowd or stack. If necessary, cook in batches.
- Cook at 400°F (204°C) for 12 minutes without opening the basket or flipping. Check internal temperature with an instant-read thermometer—wings should reach 175°F (79°C) in the thickest part of the drumette. Skin should be deep golden brown with visible blistering.
- Remove wings from air fryer and let rest on a wire rack for 2 minutes to allow the exterior to firm up. For Buffalo-style wings, melt butter in a large bowl, whisk in hot sauce, then gently toss wings in the mixture. Alternatively, serve wings plain with sauce on the side.
- Plate wings and serve hot with celery sticks, carrot sticks, ranch or blue cheese dressing, and lime wedges.
Notes
Use only aluminum-free baking powder. Regular baking soda is NOT a substitute and will create a soapy, bitter taste. The baking powder raises the pH of the chicken skin, accelerating the Maillard reaction and creating CO₂ bubbles that increase surface area for maximum crispiness. Drying Time Matters:
The longer you can dry the wings in the refrigerator (uncovered), the crispier they will be. Minimum 30 minutes, ideal 4-24 hours. Do Not Overcrowd:
Wings must be in a single layer with space between each piece. Overlapping wings will steam instead of crisp. Cook in batches if needed. No Flipping Required:
The air fryer’s convection heat circulates evenly. Opening the basket releases heat and slows down crisping. Wing Size Variations:
Smaller wings may be done at 10 minutes; jumbo wings may need 14 minutes. Always use a thermometer to verify 175°F (79°C) internal temperature. Sauce Timing:
For maximum crispiness, serve sauce on the side for dipping. If tossing in sauce, do so immediately before serving and eat right away—sauced wings lose crispness within 5-10 minutes. Storage:
Store unsauced wings in an airtight container in the refrigerator for 3-4 days. Reheat in air fryer at 375°F for 4-5 minutes to restore crispiness. Do not microwave. Freezing:
Freeze cooked unsauced wings in a freezer-safe bag for up to 3 months. Reheat from frozen at 380°F for 8-10 minutes.
💬 Chef Hamid’s Insight
I have fried wings in oil, roasted them in ovens, and grilled them over charcoal. But the air fryer method taught me something the others never could: that crispiness is not about fat or flame—it is about moisture control and surface chemistry. The best wings are not the ones cooked fastest or hottest. They are the ones that started driest and were given the space to breathe. When you preheat your air fryer, you are not just warming a machine. You are creating an environment where physics can do what your hands cannot. Every second of that preheat matters. Every millimeter of space between wings matters. Crispiness is not luck. It is architecture. And the foundation is always patience.
The lesson: Great texture is built before the heat ever arrives.
— Chef Hamid, The Flavor Bazaar
📊 Nutrition Information (Per Serving, Unsauced)
| Nutrient | Amount |
|---|---|
| Calories | 285 kcal |
| Protein | 26g |
| Total Fat | 19g |
| Saturated Fat | 5g |
| Carbohydrates | 1g |
| Sodium | 420mg |
| Cholesterol | 95mg |
Note: Values are estimates based on 2 lbs wings serving 4. Sauced wings will have additional calories depending on butter and sauce used.
🌡️ Food Safety & Temperature Guide
| Stage | Target Temp | Why It Matters |
|---|---|---|
| USDA Safe Minimum | 165°F / 74°C | Kills harmful bacteria like Salmonella |
| Ideal Doneness for Wings | 175°F / 79°C | Renders fat, crisps skin, juicy meat |
| Danger Zone | 40°F–140°F / 4°C–60°C | Bacteria multiply rapidly; do not leave wings out more than 2 hours |
| Resting Temp | 180°F / 82°C | Carryover heat after removal from air fryer |
Always use an instant-read thermometer. Visual cues can lie, especially with wings.
USDA internal temperature guidelines for poultry.
🥡 Storage & Reheating Guide
| State | Fridge | Freezer | Best Reheat Method |
|---|---|---|---|
| Cooked, unsauced wings | 3–4 days in airtight container | Up to 3 months in freezer bag | Air fryer at 375°F for 4–5 minutes |
| Cooked, sauced wings | 2–3 days in airtight container | Not recommended (sauce makes skin soggy) | Oven at 400°F for 8–10 minutes on wire rack |
| Raw, seasoned wings | 1 day covered in fridge | Up to 2 months in freezer bag | Thaw in fridge overnight, then air fry as directed |
Never reheat wings in the microwave. You will destroy the texture completely.
❓ FAQ: Your Questions Answered
Can I use frozen wings?
Yes, but you must thaw them completely first. Rinse, pat dry thoroughly, then refrigerate uncovered for at least an hour to remove all surface moisture. Frozen wings release too much water during cooking.
What if I do not have baking powder?
Do not substitute baking soda. The recipe will not work. If you are out of baking powder, your best bet is to dry the wings extremely well and cook them at 400°F for 15 minutes, flipping halfway. You will get decent results, but not the glass-skin effect.
Can I make these ahead for a party?
Absolutely. Cook the wings up to 2 hours ahead, then hold them in a 200°F oven on a wire rack. They will stay warm and crisp. Sauce them right before serving.
My wings were not crispy. What went wrong?
Most likely culprit: moisture. Either the wings were not dried properly, or they were overcrowded in the basket. Also check that your baking powder is fresh. Old baking powder loses potency.
Do I need to flip the wings halfway through?
Not with this method. The air fryer circulates heat so efficiently that flipping is unnecessary. In fact, opening the basket releases heat and can slow down the crisping process.
🔗 More from The Flavor Bazaar
If you loved these crispy air fryer wings, you will want to check out these other game-changing recipes:
[The Science of Air Fryer Frozen Foods]