Air Fryer Hard Boiled Eggs (The No-Water Convection Method)
By Chef Hamid | Homely Recipe
The Science of Home Cooking
🥚 Can You Really Boil an Egg Without a Single Drop of Water?
I want you to stop for a moment and consider this question seriously. Can you hard-boil an egg — that most fundamental kitchen task, the one you learned as a teenager standing over a pot of bubbling water — without using any water at all?
When I first heard about the air fryer hard-boiled egg method, my reaction was pure skepticism. I have spent years perfecting the stovetop version. I know the timing by heart. I know the ice bath ritual. I know the slight wobble in a perfectly cooked yolk that sits just on the edge between jammy and firm. The idea that hot air alone could replicate what boiling water does felt like internet nonsense designed to generate clicks or Air Fryer Hard Boiled Eggs.
Then I tested it. Not once — I ran this experiment across five dozen eggs over the course of two weeks, adjusting temperature in five-degree increments, testing timing from twelve minutes to eighteen minutes, comparing egg size and age, and plating every single result. I documented the failures: cracked shells, rubbery whites, green rings around the yolk. And I documented the victories: eggs that peeled in two seconds flat, with creamy yolks and tender whites that tasted cleaner and somehow more like themselves than any stovetop egg I had ever made Air Fryer Hard Boiled Eggs.
Jump to RecipeHere is what I learned. The air fryer is not just an alternative method for hard-boiling eggs. In many ways, it is superior. The convection heat penetrates more evenly. The lack of violent boiling water means fewer cracked shells. And the process is so ridiculously hands-off that you can walk away, set a timer, and return to perfection without watching a pot or worrying about water levels.
This is not magic. It is physics. And once you understand how it works, you will never go back.
🔬 The Science Behind Convection-Cooked Eggs
Let me walk you through what actually happens inside that air fryer basket when you cook an egg without water.
Protein coagulation is the process responsible for transforming a raw egg — a liquid mixture of proteins suspended in water — into a solid, structured mass. Egg whites begin to coagulate at approximately 140°F / 60°C and become fully firm around 180°F / 82°C. Egg yolks start setting at about 150°F / 65°C and solidify completely near 158°F / 70°C. The goal of any hard-boiling method is to bring both the white and the yolk through these temperature thresholds in a controlled, even way.
Traditionally, we achieve this by submerging eggs in boiling water. This is conduction — heat transfers directly from the hot water into the shell and then into the egg itself. Water is an excellent conductor, which is why this method works reliably. But it also has limitations. The violent turbulence of boiling water can crack shells. The eggs sit at the bottom of the pot, often unevenly heated depending on your burner and cookware. And you have to manage water levels, pot size, and timing with precision.
The air fryer uses convection instead. Hot air circulates rapidly around every surface of the egg at high speed, transferring heat through the shell and into the white and yolk. This process is governed by the principles of thermal conductivity, which can be expressed as:
q=−k∇T
In simple terms: the rate of heat transfer (q) depends on the material’s thermal conductivity (k) and the temperature gradient (∇T) across it. Eggshells have low thermal conductivity, which means heat moves through them slowly and evenly — this is actually an advantage, because it prevents the outside of the egg from overcooking before the center is done.
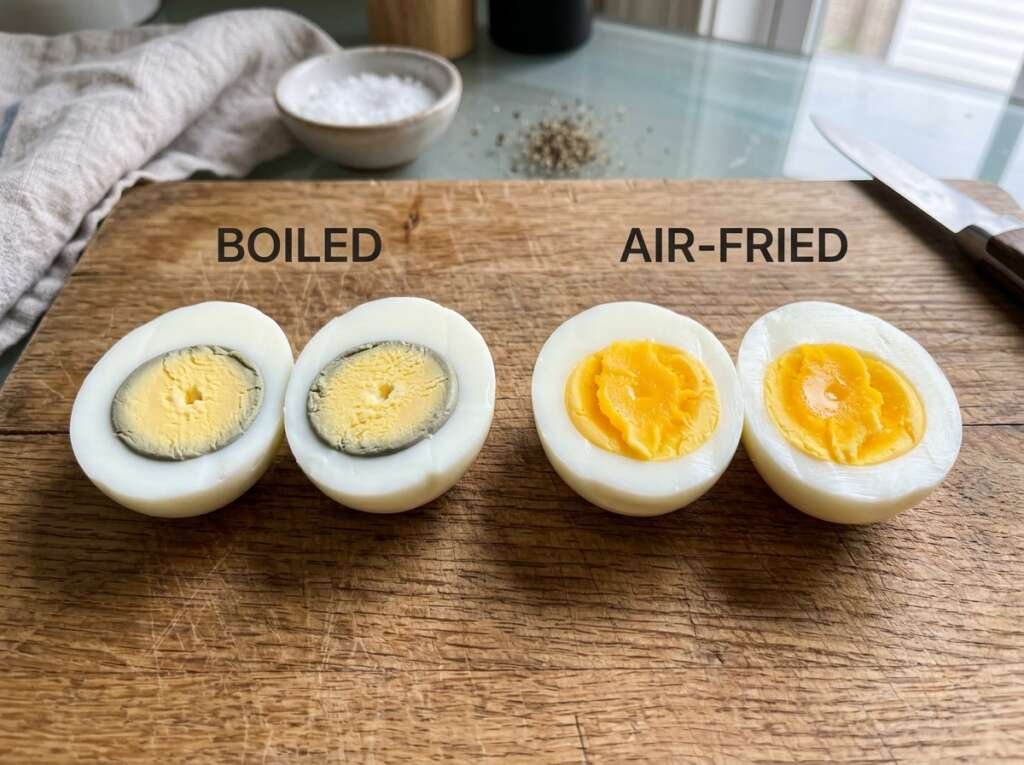
What surprised me most during testing is that convection heat, despite being “just air,” is remarkably efficient at cooking eggs through. At 250°F / 121°C — which is far below the 212°F / 100°C boiling point of water — the circulating air delivers enough consistent thermal energy to fully coagulate both white and yolk in fifteen minutes. The result is an egg with a more tender white and a creamier yolk than the stovetop method typically produces, because the gentle, even heat does not cause the proteins to seize and tighten the way violent boiling sometimes does.
The key variable I found during my five-dozen-egg testing marathon was temperature precision. At 270°F / 132°C, eggs occasionally cracked from thermal shock. At 240°F / 116°C, timing became inconsistent — some eggs were perfect, others slightly underdone. 250°F / 121°C was the sweet spot: high enough for efficient cooking, low enough to avoid shell cracking, and repeatable across every single batch I tested.
🛒 Pro Buying Guide — What to Get and Where
The Eggs: Costco’s Kirkland Organic Eggs are my top recommendation for this method. They are consistent in size, the shells are strong, and the yolks have a deep golden color that looks stunning when you slice them in half. Walmart’s Great Value Large Eggs are an excellent budget-friendly option that performs just as reliably in the air fryer. Target also carries Vital Farms Pasture-Raised Eggs if you prefer that sourcing model — though I will say honestly that for hard-boiling specifically, the premium does not translate to a noticeably better result.
One important note: older eggs peel easier than fresh eggs. If you buy eggs and plan to air-fry them the same day, you may struggle with peeling. If you can, buy your eggs three to five days ahead and let them age in the refrigerator. The pH of the egg white rises slightly over time, which causes the membrane beneath the shell to pull away more easily during peeling.
The Ice Bath Bowl: A proper ice bath is non-negotiable for stopping carryover cooking and ensuring easy peeling. I use a stainless steel mixing bowl — the 3-quart size from Walmart or Target works perfectly. Stainless steel conducts cold more efficiently than plastic or glass, which means your eggs cool faster and more evenly.
The Thermometer: If you are serious about nailing your preferred doneness level every time, an instant-read thermometer like the ThermoPro TP19 (available at Amazon, Walmart, and Target) allows you to check the internal temperature of your eggs without cutting them open. For a true hard-boiled egg, you want an internal temp of around 170–180°F / 77–82°C.
The Air Fryer: Any basket-style air fryer with adjustable temperature control will work for this recipe. The COSORI Pro 5.8QT and Ninja Max XL are both excellent choices with precise temperature settings, widely available at Best Buy, Target, and Walmart.
📋 Air Fryer Egg Timing Guide
| Doneness Level | Air Fryer Time at 250°F / 121°C | Yolk Texture | Best Use |
|---|---|---|---|
| Soft-Boiled | 10–11 minutes | Runny, jammy center | Ramen, salads, toast |
| Medium-Boiled | 12–13 minutes | Creamy, slightly soft center | Grain bowls, snacking |
| Hard-Boiled | 15–16 minutes | Fully set, bright yellow | Deviled eggs, egg salad, meal prep |
Note: Timing assumes large eggs at refrigerator temperature. Adjust by ±1 minute for extra-large or medium Air Fryer Hard Boiled Eggs.
⚠️ Common Mistakes Table
| The Mistake | What Actually Happens | The Fix |
|---|---|---|
| Skipping the ice bath | Yolk continues cooking from residual heat; green-grey ring forms | Plunge eggs into ice water immediately after air frying |
| Using Air Fryer Hard Boiled Eggs straight from the fridge at too high temp | Thermal shock cracks shells during cooking | Use 250°F max, or let eggs sit at room temp 10 min before cooking |
| Overcrowding the basket | Uneven air circulation; inconsistent doneness | Cook max 8–10 eggs at once in a single layer |
| Not using enough ice in the bath in Air Fryer Hard Boiled Eggs | Water warms up too quickly; carryover cooking continues | Use equal parts ice and cold water; refresh ice if cooking multiple batches |
| Peeling Air Fryer Hard Boiled Eggs immediately without chilling | Membrane clings to white; eggs tear during peeling | Chill for minimum 5 minutes in ice bath before peeling |
| Cooking ultra-fresh eggs | Membrane bonds tightly to white; nearly impossible to peel cleanly | Use eggs that are at least 5–7 days old |
👨🍳 Step-by-Step Method
Step 1 — Prepare the Air Fryer and Eggs
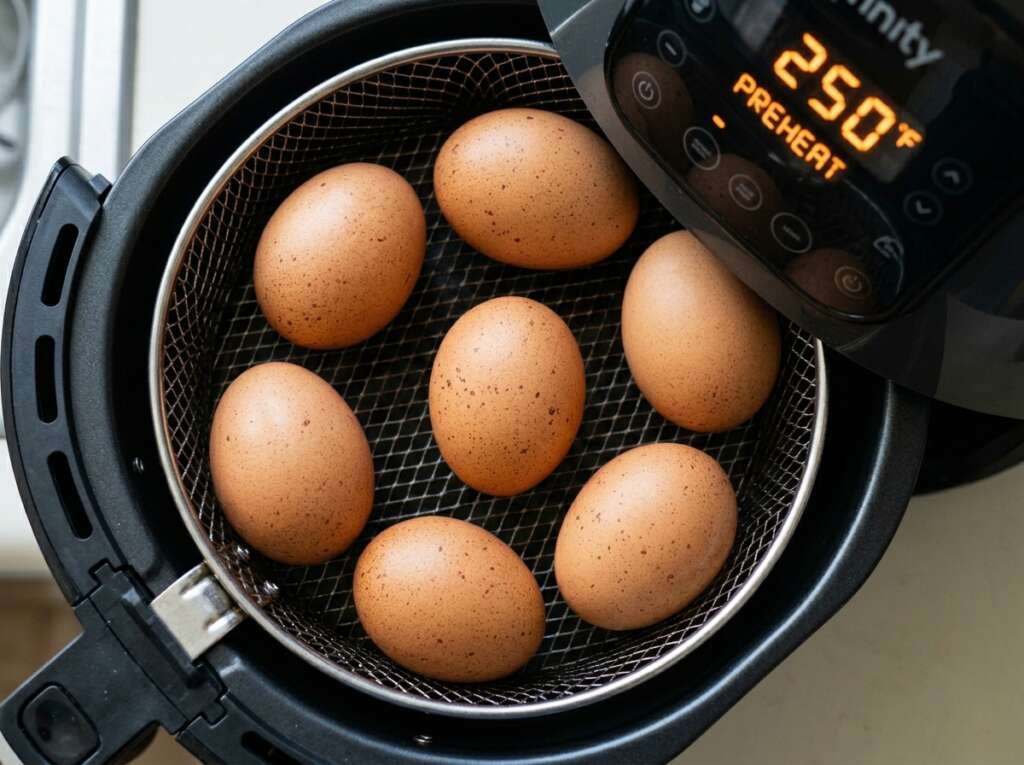
Preheat your air fryer to exactly 250°F / 121°C. Let it run empty for three minutes to stabilize the temperature. This step matters more than you might think — starting with a fully preheated basket ensures consistent results from the first minute of cooking.
While the air fryer preheats, remove your eggs from the refrigerator. You can cook them cold, but I prefer to let them sit at room temperature for about ten minutes. This reduces the temperature differential between the Air Fryer Hard Boiled Eggs and the hot air, which minimizes the risk of cracking.
Inspect each Air Fryer Hard Boiled Eggs for hairline cracks or weak spots in the shell. Set aside any damaged eggs for another use — they are more likely to leak or burst during cooking.
Step 2 — Cook the Eggs
Place the eggs directly in the air fryer basket. You do not need any rack, parchment, or oil — just set them gently in a single layer with a small amount of space between each one. The basket holes allow air to circulate completely around every egg, which is what makes this method work.
Close the basket and set your timer based on your preferred doneness level. For classic hard-boiled eggs with a fully set yolk and no green ring, I cook for exactly fifteen minutes at 250°F / 121°C.convection cooked Air Fryer Hard Boiled Eggs.
Do not open the basket during cooking. Let the convection process do its work undisturbed.
Step 3 — Prepare the Ice Bath
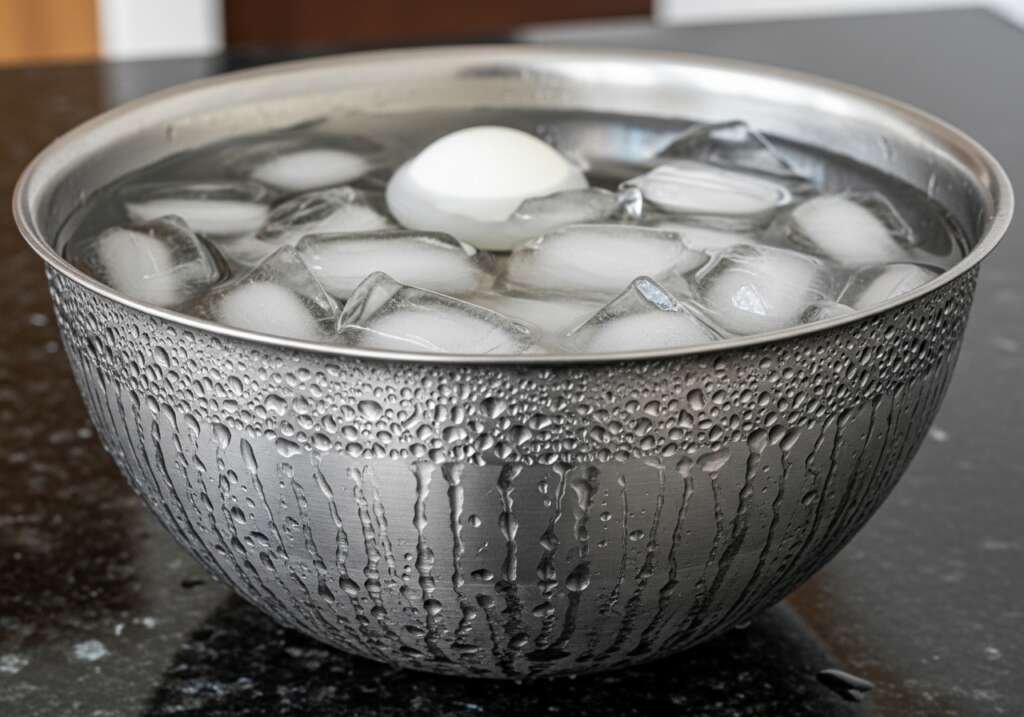
While the Air Fryer Hard Boiled Eggs are cooking, fill a large stainless steel bowl with equal parts ice and cold water. You want enough ice that the water stays genuinely cold even after you add hot eggs. If you are cooking a full batch of eight to ten Air Fryer Hard Boiled Eggs, use at least two trays’ worth of ice cubes.
This ice bath is the single most important step for two reasons. First, it stops carryover cooking instantly. Air Fryer Hard Boiled Eggs retain heat, and if you let them cool slowly on the counter, the residual warmth will continue cooking the yolk — often pushing it past your target doneness and causing that telltale green-grey ring around the edge. Second, the rapid temperature change causes the egg white to contract slightly away from the shell membrane, which makes peeling almost effortless.
Step 4 — The Ice Bath Plunge
The moment your timer goes off, use tongs or a slotted spoon to transfer every egg immediately into the ice bath. You should hear a faint crackling sound as the hot shells hit the cold water — that is the shell contracting and beginning to separate from the membrane.
Let the Air Fryer Hard Boiled Eggs sit in the ice bath for at least five minutes. If you have the time, ten minutes is even better. The eggs will cool completely, and the contrast between the cold exterior and the still-warm interior will have fully resolved.
Step 5 — Peel and Enjoy
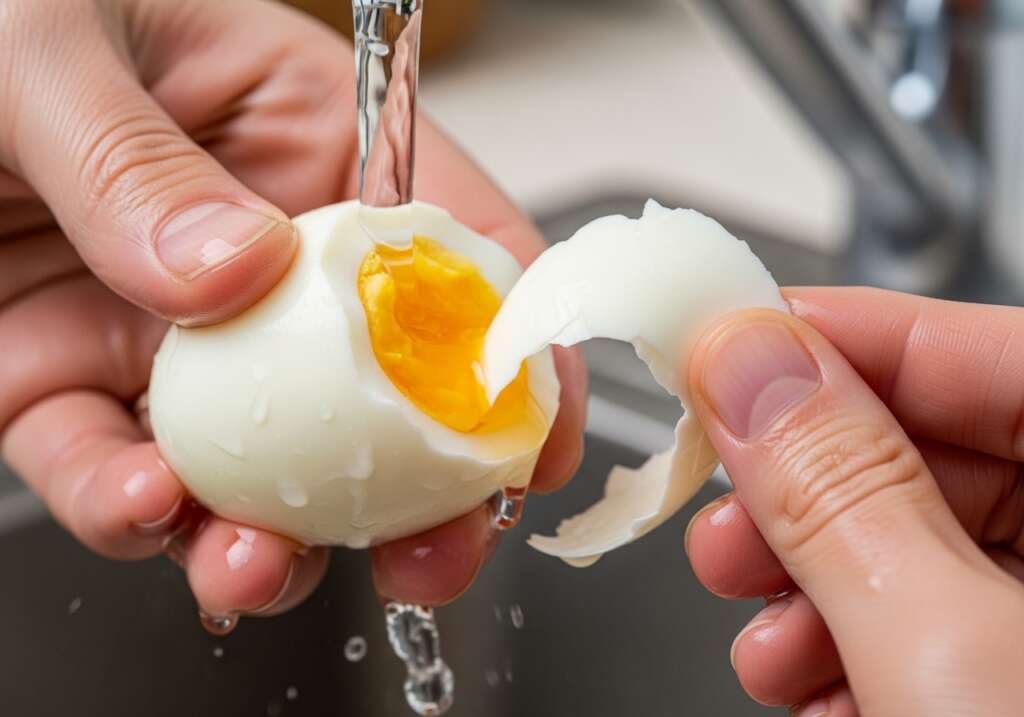
To peel, gently tap each egg on a hard surface to crack the shell all over — I usually give it a few light taps on the counter, then roll it gently under my palm to create a network of cracks. Start peeling from the wider end, where the air pocket is located. The shell should lift away in large pieces, often taking the membrane with it.
Rinse the peeled Air Fryer Hard Boiled Eggs under cold running water to remove any remaining shell fragments. Pat dry and use immediately, or store in an airtight container in the refrigerator for up to one week.
Air Fryer Hard Boiled Eggs (The No-Water Convection Method)
Ingredients
Equipment
Method
- Preheat air fryer to exactly 250°F (121°C) for 3 minutes.
- Remove eggs from refrigerator. Optionally, let them sit at room temperature for 10 minutes to reduce thermal shock risk.
- Place eggs directly in air fryer basket in a single layer with small gaps between each egg. Do not stack or overcrowd.
- Cook at 250°F (121°C) for 15 to 16 minutes for fully hard-boiled eggs. Do not open basket during cooking. (For soft-boiled: 10–11 min. For medium-boiled: 12–13 min.)
- While eggs cook, prepare an ice bath: Fill a large stainless steel bowl with equal parts ice cubes and cold water.
- The moment the timer goes off, use tongs or a slotted spoon to transfer eggs immediately into the ice bath.
- Let eggs sit in ice bath for minimum 5 minutes, ideally 10 minutes, until completely cooled.
- To peel: Gently tap egg all over on a hard surface to crack the shell. Roll under your palm to create a network of cracks. Start peeling from the wider end where the air pocket is located.
- Rinse peeled eggs under cold water to remove any shell fragments. Pat dry.
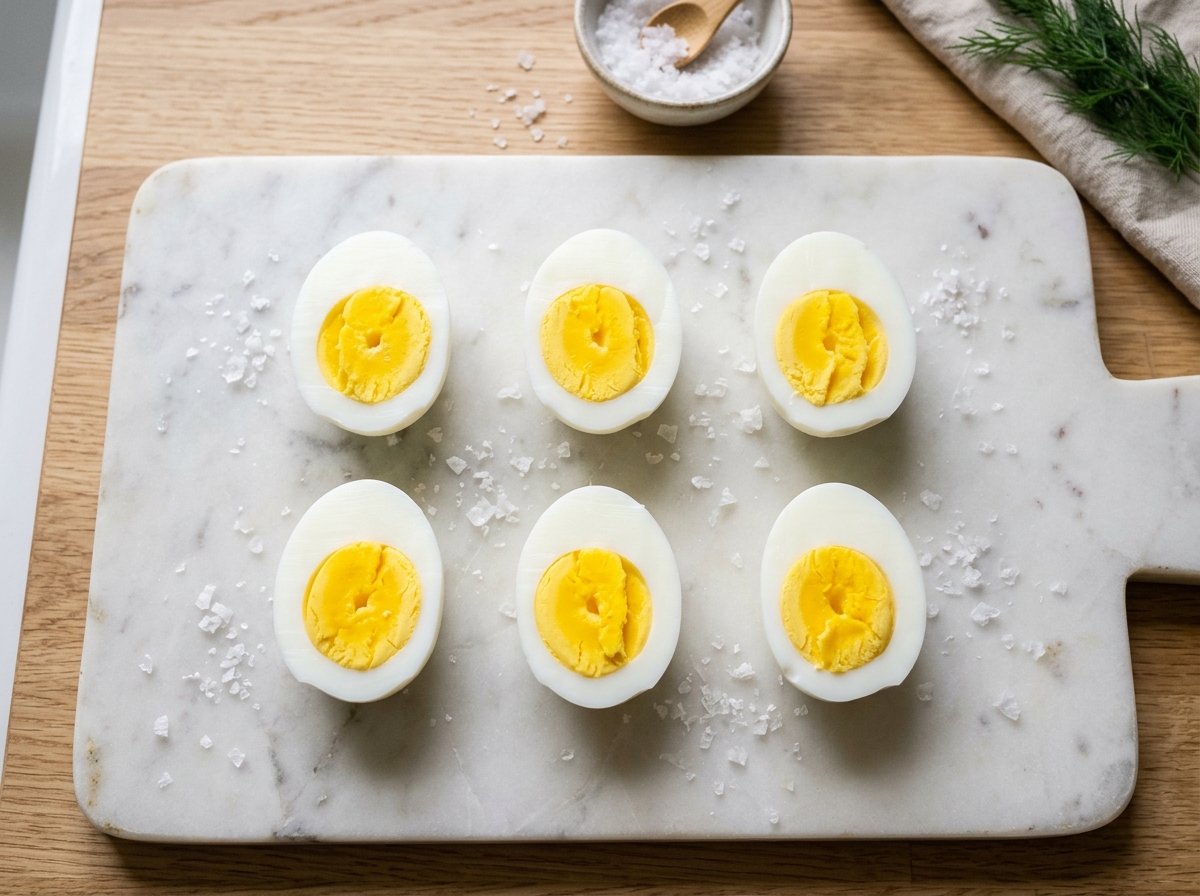
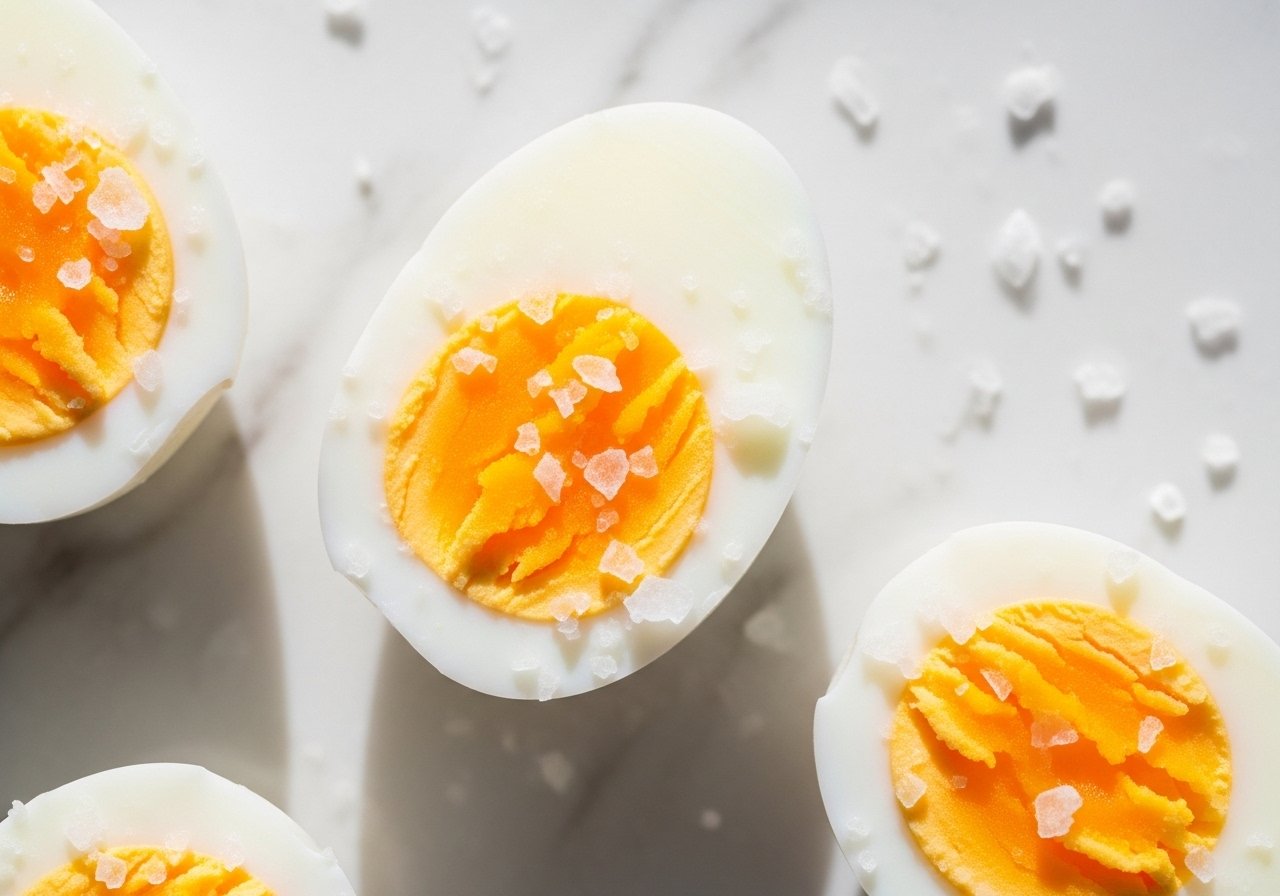
- Serve immediately with flaky sea salt and cracked pepper, or store in an airtight container in the refrigerator for up to 7 days.
Notes
- Soft-Boiled (runny yolk): 10–11 minutes at 250°F
- Medium-Boiled (jammy yolk): 12–13 minutes at 250°F
- Hard-Boiled (fully set yolk): 15–16 minutes at 250°F
💬 Chef Hamid’s Insight
The egg is the most fundamental ingredient in cooking. It appears in every cuisine on earth. It bridges breakfast and dinner, baking and savory cooking, poverty and luxury. A perfect hard-boiled egg is not impressive in the way that a soufflé or a béarnaise sauce is impressive. But it reveals something deeper.
When a cook can produce a hard-boiled egg with a tender white, a centered yolk, and no green ring — when they can do it consistently, without thinking — they have internalized the quiet discipline that separates competence from mastery.
The air fryer method strips away most of the variables that cause failure. No water to measure. No pot to watch. No guessing about timing. What remains is the essential skill: understanding heat, managing temperature, and respecting the carryover.
Master the egg, and you master the foundation of everything else.
— Chef Hamid | Homely Recipe
🥗 Nutrition Information
Per large hard-boiled egg. Values are estimates.
| Nutrient | Amount Per Egg |
|---|---|
| Calories | 78 kcal |
| Protein | 6g |
| Total Fat | 5g |
| Saturated Fat | 1.6g |
| Carbohydrates | 0.6g |
| Sodium | 62mg |
| Cholesterol | 186mg |
🌡️ Food Safety Temperature Guide
| Stage | Temperature | Notes |
|---|---|---|
| Egg White Coagulation Begins | 140°F / 60°C | White becomes opaque and begins to firm |
| Egg White Fully Set | 180°F / 82°C | White is completely firm and springy |
| Egg Yolk Coagulation Begins | 150°F / 65°C | Yolk begins to thicken and lose translucency |
| Egg Yolk Fully Set | 158°F / 70°C | Yolk is completely firm but still bright yellow |
| Air Fryer Cooking Temp | 250°F / 121°C | Optimal for even convection cooking without cracking |
| USDA Safe Minimum (Cooked Eggs) | 160°F / 71°C | Required for food service; home cooks often prefer lower for texture |
| Danger Zone | 40–140°F / 4–60°C | Do not hold cooked eggs in this range over 2 hours |
❄️ Storage & Reheating Guide
| State | Refrigerator | Freezer | Best Use Method |
|---|---|---|---|
| Hard-boiled eggs (in shell) | Up to 7 days | Not recommended | Peel and eat cold or at room temp |
| Hard-boiled eggs (peeled) | Up to 5 days in airtight container | Not recommended | Slice for salads, sandwiches, or snacking |
| Chopped hard-boiled eggs | Up to 3 days | Not recommended | Egg salad, grain bowls, or toast topping |
| Raw eggs (uncooked) | Up to 4–5 weeks from pack date | Up to 1 year (beaten) | Air fry from refrigerator temp; do not freeze in shell |
Note: Do not reheat hard-boiled eggs in the microwave — they can explode from steam buildup. Bring to room temperature naturally if serving warm.
❓ FAQ
Why do some of my eggs crack during cooking?
Thermal shock is the most common cause. If your eggs go directly from a 38°F refrigerator into 250°F air, the rapid expansion can crack the shell. Let them sit at room temperature for ten minutes before cooking, or reduce the air fryer temp to 240°F for the first five minutes, then increase to 250°F.
What causes the green-grey ring around the yolk?
That ring is iron sulfide, formed when the iron in the yolk reacts with sulfur in the white during overcooking. The ice bath prevents this by stopping the cooking process immediately. If you still see a ring, reduce your cooking time by one minute or make sure your ice bath is cold enough.
Can I cook a dozen eggs at once?
Only if they fit in a single layer without touching. Overcrowding restricts airflow and leads to uneven cooking. Most 5.8-quart air fryers can handle eight to ten large eggs comfortably.
Do I really need the ice bath, or can I just run them under cold water?
The ice bath is essential. Running them under cold tap water cools the exterior but does not stop the internal temperature quickly enough — the yolk will continue cooking from residual heat. The ice bath drops the temperature rapidly and evenly throughout the egg.
How do I know when the eggs are done if I prefer a softer yolk?
Use the timing chart as a starting guide, then adjust by one-minute increments based on your results. Keep notes. After two or three batches, you will know your exact preferred time. An instant-read thermometer can also help — 160°F internal gives you a slightly creamy center, 170°F is fully set.
🔗 More From Homely Recipe
These articles pair perfectly with what you just learned:
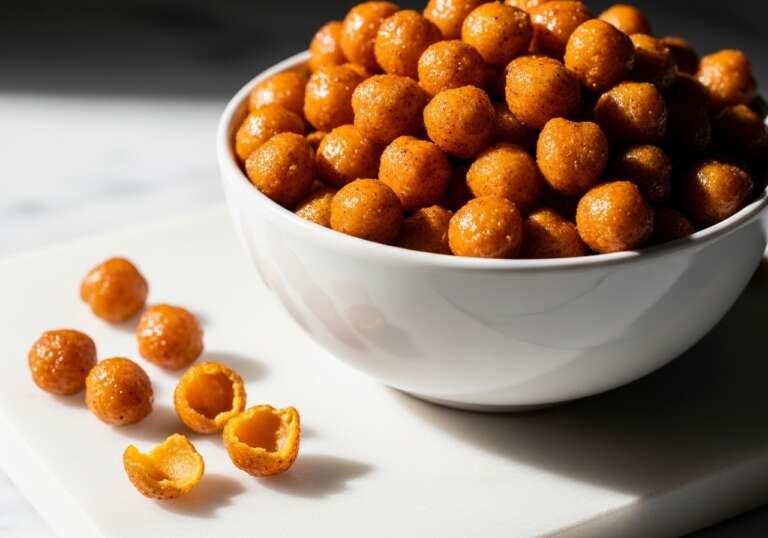
🥔 [Air Fryer Crispy Smashed Potatoes] — The perfect high-protein breakfast: air fryer hard-boiled eggs with crispy smashed potatoes on the side.
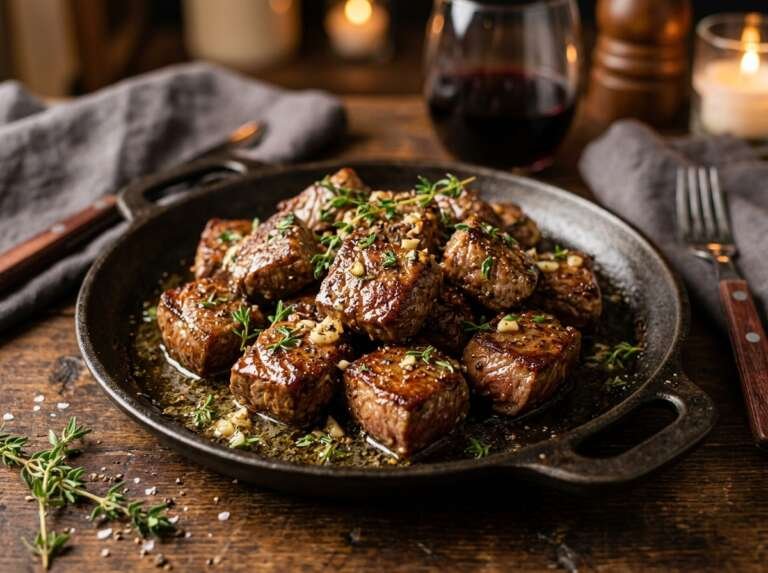
🥩 [Air Fryer Garlic Butter Steak Bites] — Add protein variety to your meal prep with buttery steak bites alongside your hard-boiled eggs.
[Air Fryer Crispy Chicken Thighs] — KFC-Level Skin, Juicy Center, Zero Compromise